
Make Yogurt Yo’Self. Save money and the planet!
The price of a gallon of yogurt at the grocery store in our area is currently around $18. You can make much better yogurt instead (really – much better) for about the price of the milk. No wasted plastic packaging and no added fillers, emulsifiers, or stabilizers.
There are a lot of ways to make yogurt, here is the way I make it and it works every time.
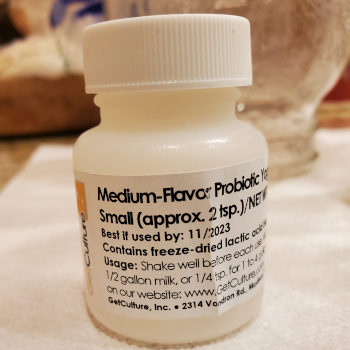
Some folks use yogurt from the grocery store for their starter culture, but for better tasting and consistent results, you should order yogurt culture from a supply house like GetCulture or New England Cheesemaking Supply. Pictured is the culture I use. This little bottle is about $20. Just keep in the freezer – it lasts a long time and makes a lot of yogurt.
Equipment and ingredients:
- one or two gallons of milk
- freeze dried culture
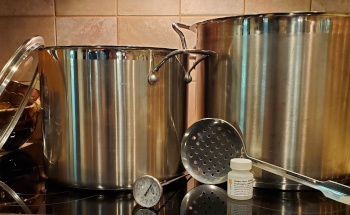
- 2 large pots to make a double boiler
- thermometer
- canning jars (I like 1/2 gallon and quart sizes)
- large towel
- insulated cooler (to keep the yogurt warm)
Method:
Heat the milk to 180 deg F.
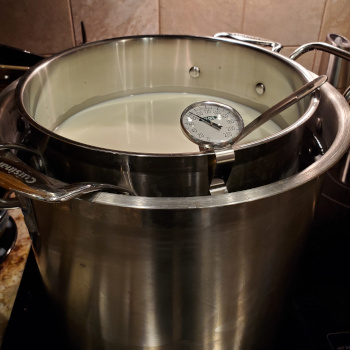
Make a double boiler with two large pots. Fill the larger pot with enough water to come to the same level as the milk in the inner pot. Pour the milk into the inner pot and put it into the the outer pot. Then put the double boiler setup over high heat. You’ll need the thermometer in the milk to monitor it’s temperature.
This double boiler setup is to prevent burning the milk and to help maintain the temperature at approximately 180℉ during the 30 minute hold period.
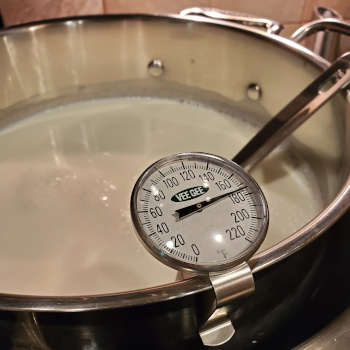
Heat the milk until the temperature is 180℉. Stir the milk occasionally so it heats evenly. It should get bit frothy as it approaches the 180℉ point.
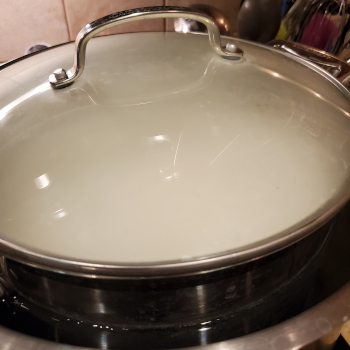
When the milk reaches 180℉, remove the double boiler setup from the heat. Put a lid on the pot containing the milk. Leave the milk in the double boiler setup for 30 minutes so it stays close to the 180℉ temperature.
Cool the milk to about 115 deg F.
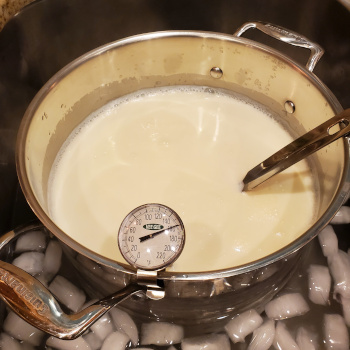
After 30 minutes in the double boiler setup, remove the pot containing the milk and cool the milk down quickly to about 115℉ by putting the pot into an ice bath. Stir the milk occasionally so it cools evenly. I use my sink for the ice bath.
While 115℉ is not a magic number, it is cool enough not to kill the culture, and warm enough so the temperature of the milk doesn't drop too much during the stirring and pouring that follows.
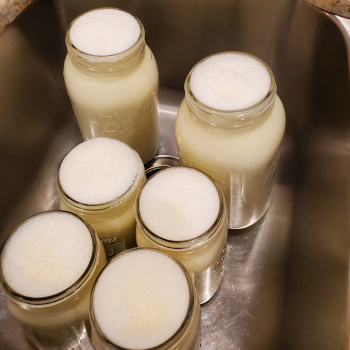
Remove the pot of milk from the ice bath and stir in the culture in the amount the packaging directs for about 30 seconds. Try to include an up and down motion when you’re stirring it in to make sure it is dispersed thoroughly in the milk. Pour the inoculated milk into your clean canning jars. It takes a steady hand so I put the jars into the sink for the pour just in case there is any spillage.
Fermentation time – maintain temperature at about 108 deg F
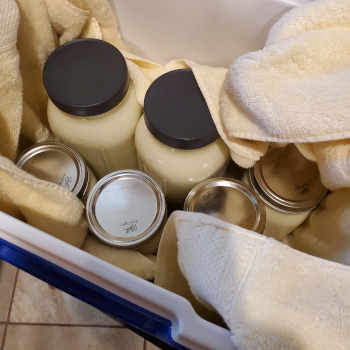
Line the inside of the insulated cooler with a large towel and put the sealed jars in. Use the towel to cover the jars completely then close the lid. The goal here is to keep the the yogurt at about 106-110℉.
Put the cooler in a warm area of your home where it will sit undisturbed for the entire incubation time. Don’t move it or check on it. Your job is now done for 8 hours or so.
Remove the warm yogurt from the cooler in about 8 hours – I prefer between 10 and 12 hours. Put the yogurt into the refrigerator for a day and then Voilà! Homemade yogurt.
Notes:
You should use very clean utensils, pots and jars. I like to carefully pour a small amount of boiling water into the the jars and let them sit in the cooler loosely covered with their lids while the milk is heating up and holding at temperature. It actually warms up the cooler a bit. (Why is there not a better name for ‘cooler’?)
The thermometer brand that I use is Vee Gee. It has an 8 inch stem and also comes with a clip so you can attach it to the milk pot. It currently costs about $10 on the Vee Gee website.
The milk I use to make yogurt is Mill-King Milk. It is local quality milk, low-temp pasteurized and not homogenized (cream on top). In Austin it is carried at Fresh Plus and Whole Foods. If you go to the Mill-King farm store near Waco, you can get raw milk – best yogurt I ever made. Use quality milk if you can.
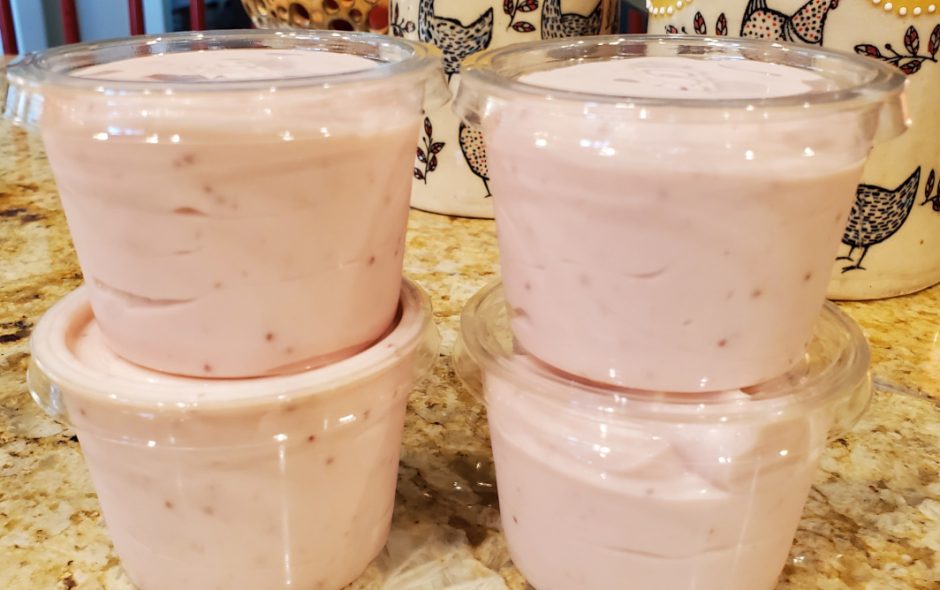
The little containers that I use for flavored yogurt are 4 ounce compostable cups from Eco Products. Yay, no plastic waste.
I am not affiliated with any of the companies mentioned here.
My favorites are lemon and coffee!!!!!
FYI – you can use a sous vide in the outer pot to maintain the exact temperature you want for the yogurt, cheese, etc. no worries about overheating and no problems maintaining the exact temperature you want.
Good idea Lynn! I also saw a video where a lady used her dehydrator to maintain the fermentation temperature.
Love this so much!!! Would love to try my hand at this!!
Thanks Brooks! I am thinking of having a demonstration sometime this fall if you’re interested. 🙂