My first retirement project in 2023 was building a dry stone corner wall to contain our compost pile. The irregularly shaped limestone rocks were already on our property, probably left over from when the house was built. Since I wanted to do this myself, my husband Steve, only helped me lift 3 rocks that were too heavy for me.
Why dry stone?
- No mortar means water and air can flow between the rocks (good for compost);
- This little corner wall is in a drainage easement and can be taken down easily if necessary; and
- I have no training as a mason to be able to build a mortared wall that would stand.
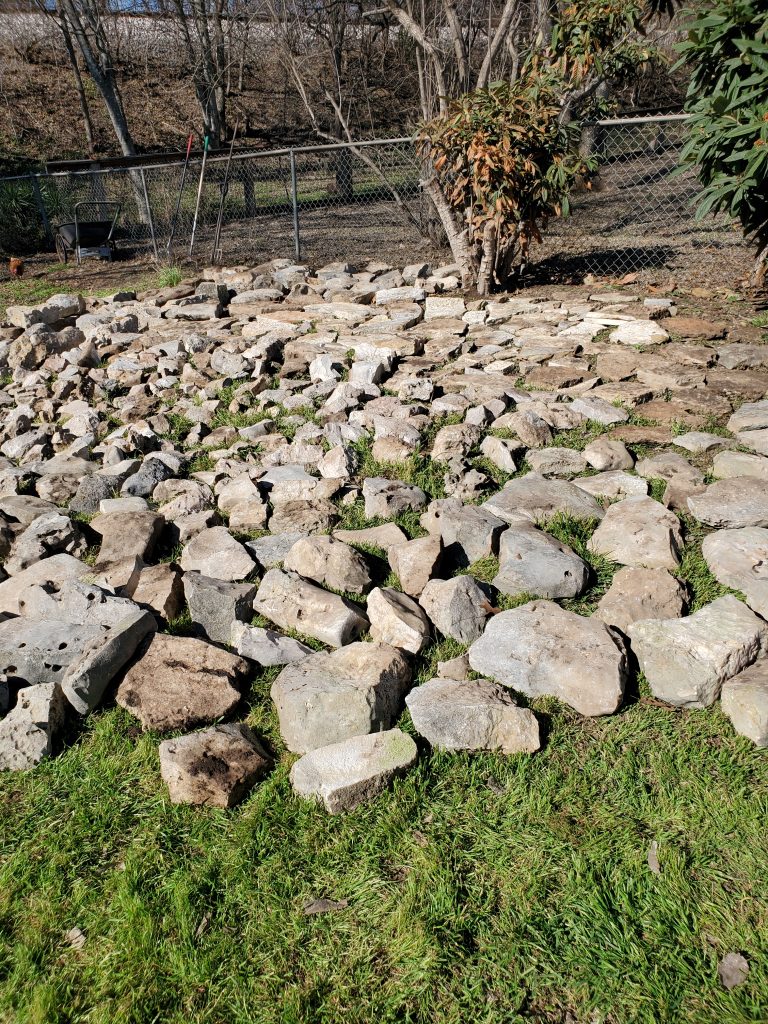
I spread out the rocks we had on hand to see what there was to work with. Apparently this was my first mistake. I spent a lot of time wandering around, walking on these somewhat unstable rocks, looking for the right size and shape to place then picking them up and carrying them back to the wall. A better idea would be sorting them into rows by thickness with walking space between the rows, thickest rocks closest to the wall area and thinner ones further out.
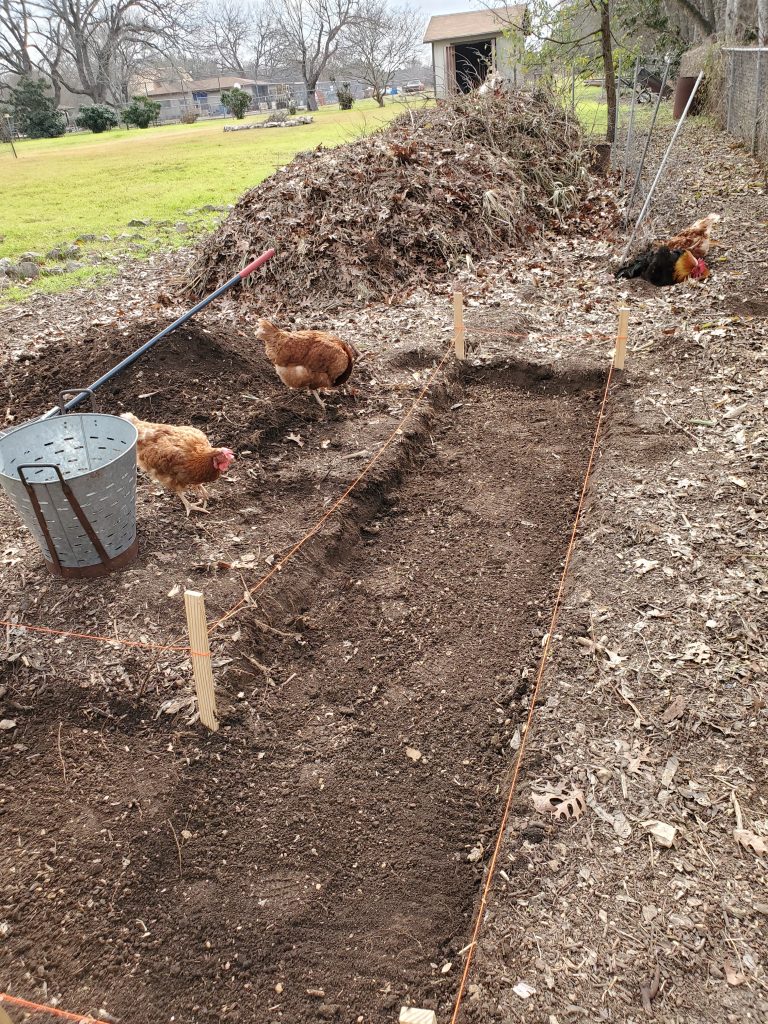
Next, I strung line and dug out shallow trenches for the foundation. They were 24 inches wide.
I tried to keep the sides of the trenches straight up and down but…
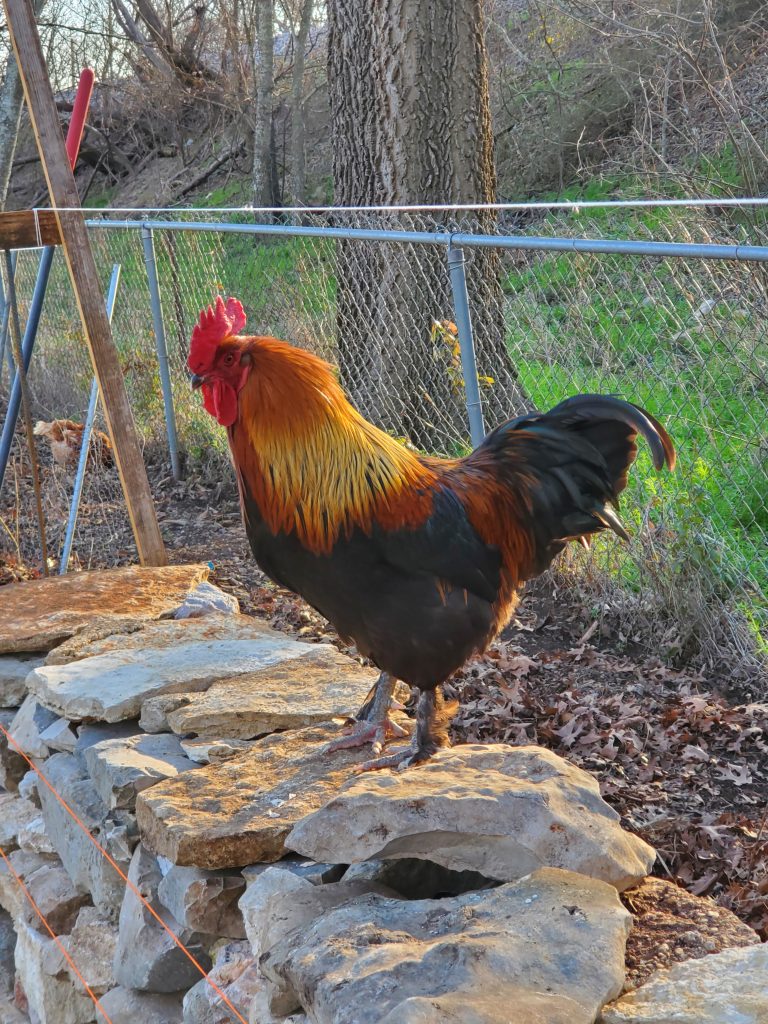
Second mistake. The backyard chickens showed up every day to ‘help’. They scratched up the sides and kicked soil back into the little trenches. There were also a few holes scratched out for dust baths. The chickens were very happy.
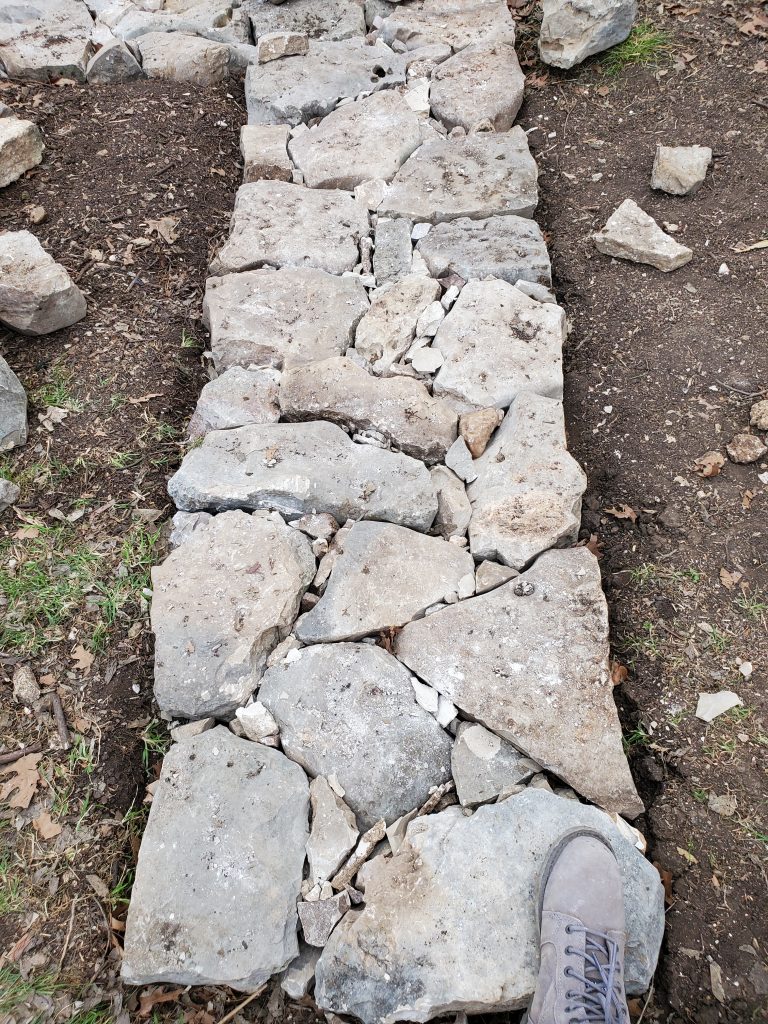
After the foundation was dug out I laid the stones for the footing. They are supposed to be laid lengthwise toward the center, but somehow that didn’t happen. It looks like I put together some sort of jig saw puzzle.
When I walked on the footing, there was no movement so I moved on to laying the first course.
The wall is two sided with the gaps in the center packed with smaller rocks called hearting. The hardest part was breaking up the limestone rocks to get the right sized hearting to fill in the center gaps and level out the face stones. The limestone we had was very hard and difficult to break up.
I ended up pinning some of the face stones from the outside with smaller rocks which is probably also not a good idea. The pinning is supposed to be done on the inside between the two sides of the wall.
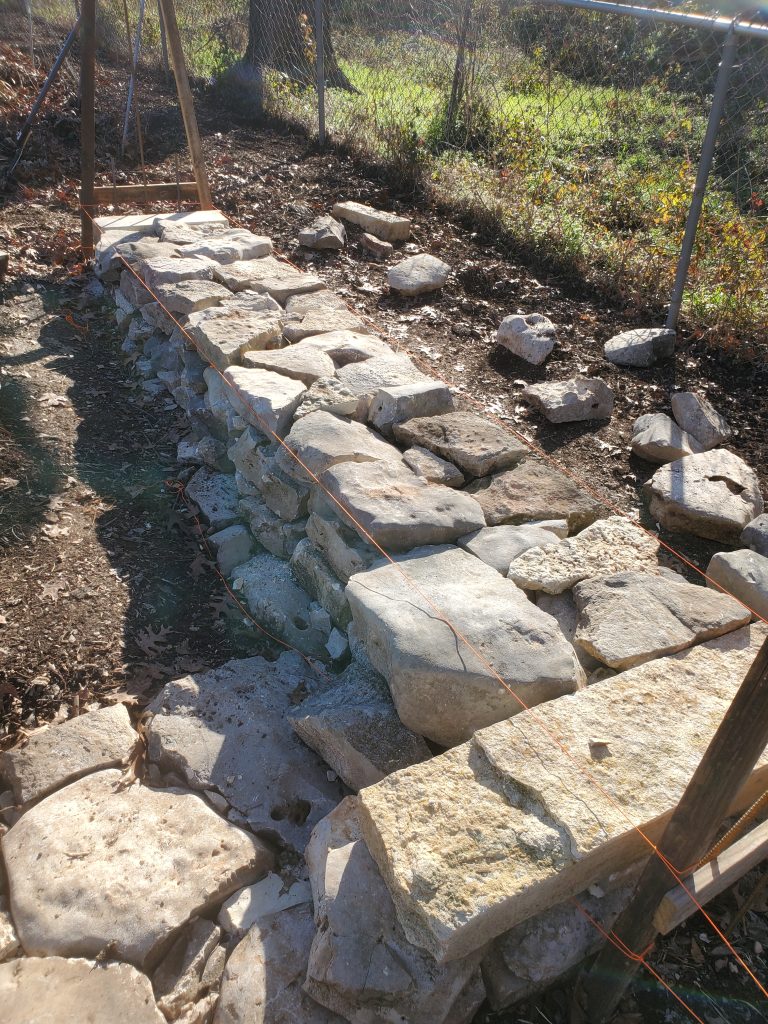
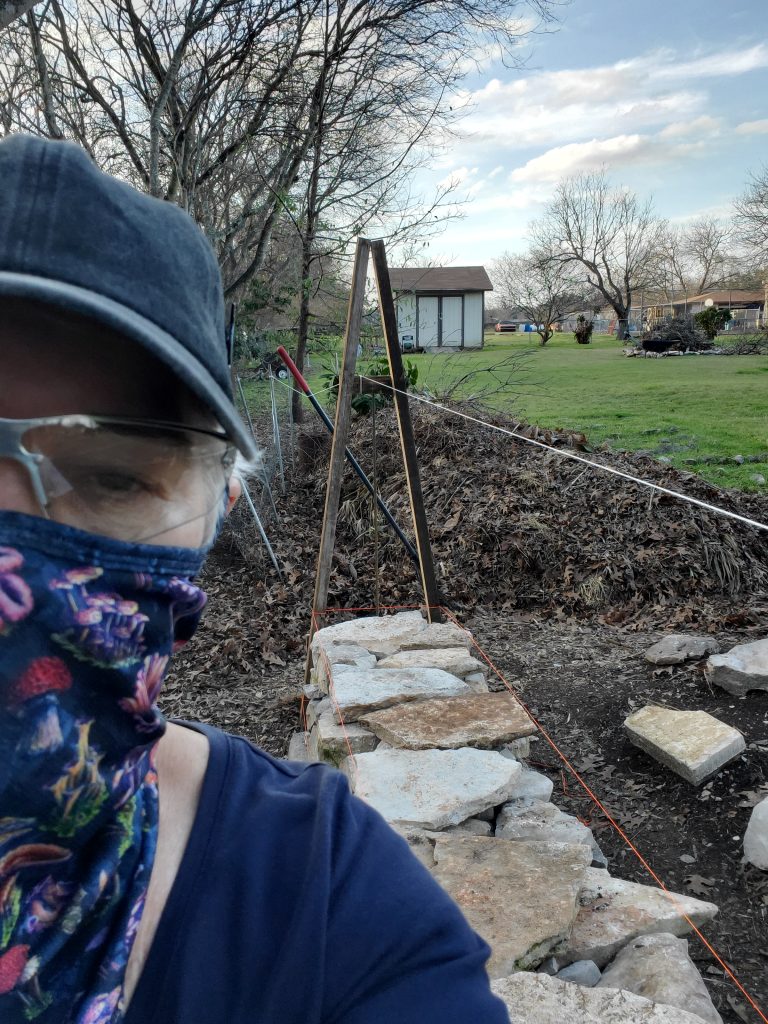
This is the first couple of courses for the lift on the back wall. A lift is the foundation stones, two rows of face stones, hearting in the center, and through stones. This bit of wall still needs the next course (row of rocks) that will include several through stones.
Fortunately, my neighbor had some cut limestone that she donated to the cause, and they were long enough to span the width of the wall (ie: through stones). Through stones are laid lengthwise across the wall and tie the two sides together. You can see them way out in the grass past the compost pile. Once again, not very near the wall. I had to roll them end over end to get them close enough to lift onto the wall.
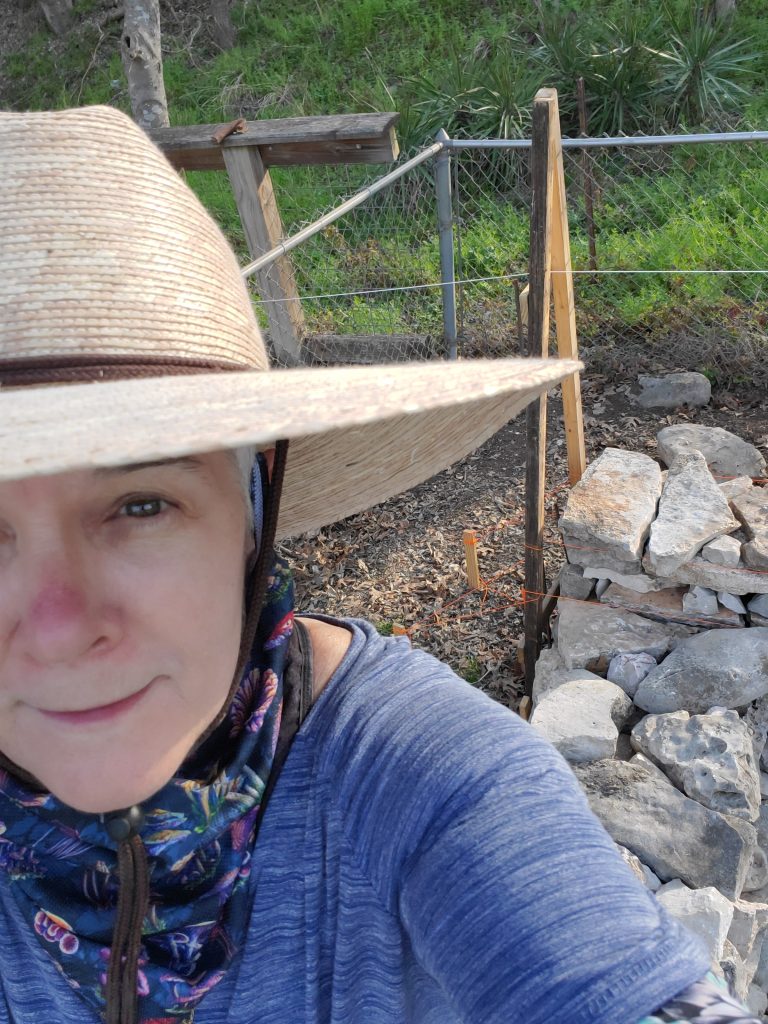
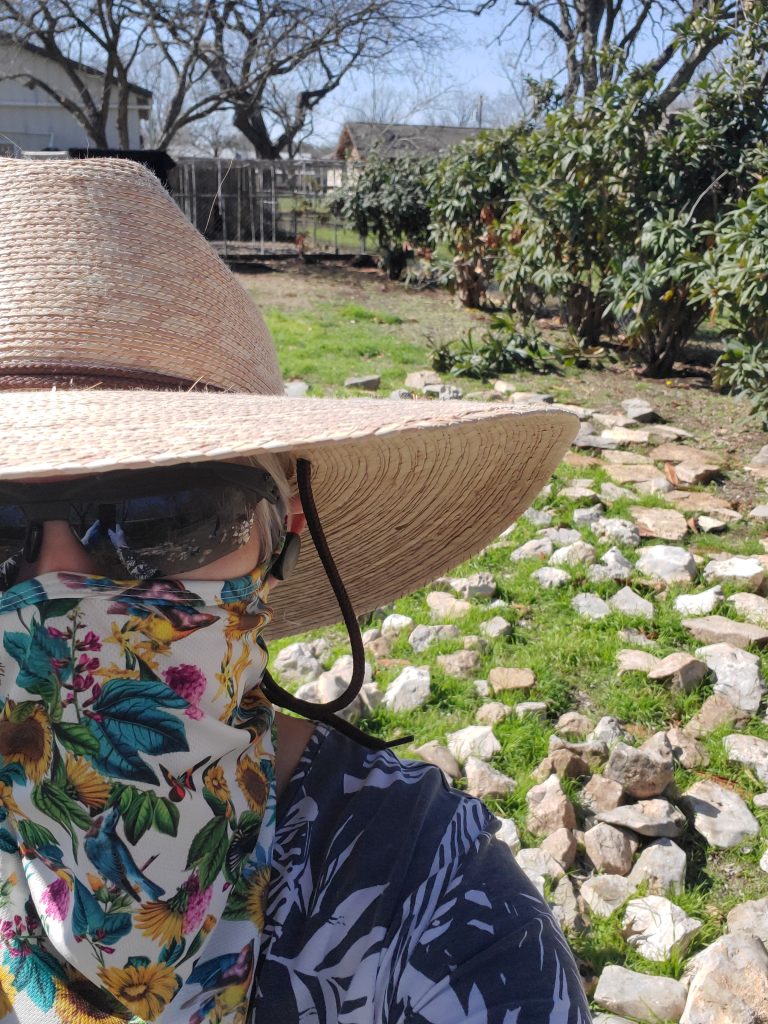
Here’s me standing on the second side of this wall.
Another thing learned, make sure you have enough good stone to complete the job.
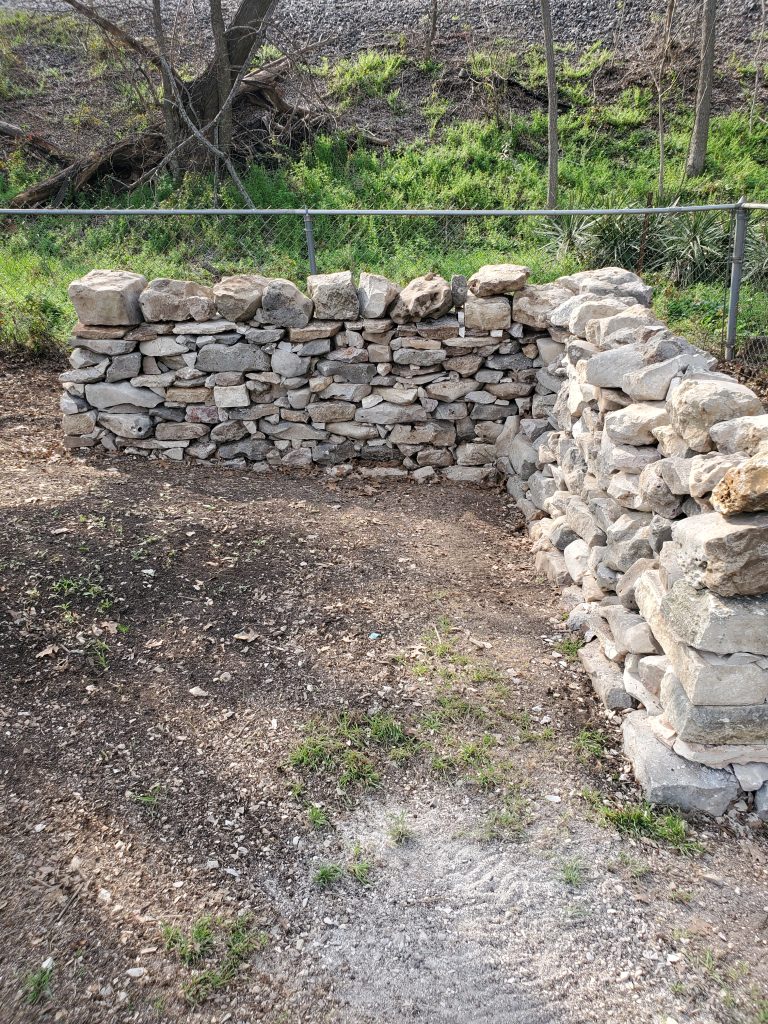
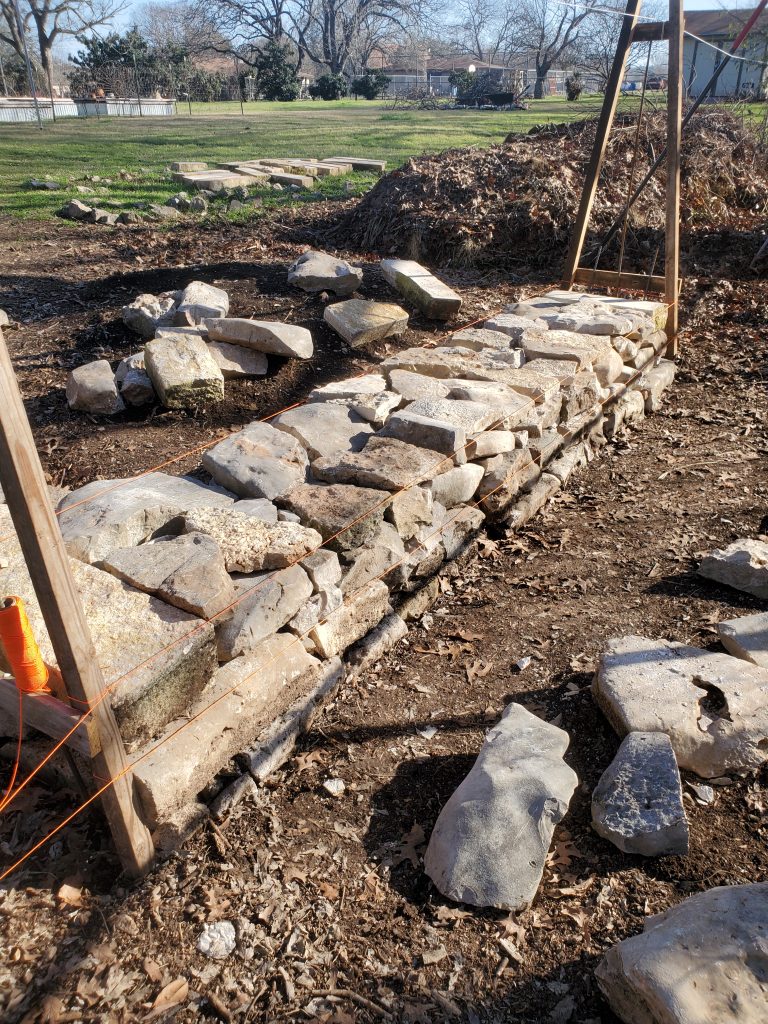
The corner of the wall is pretty stable, but both cheek ends are not very well constructed. I don’t expect them to fall down anytime soon, but… I guess I’ll be taking this wall down at some point in the future and trying to do a better job now that I’ve learned from building this one.
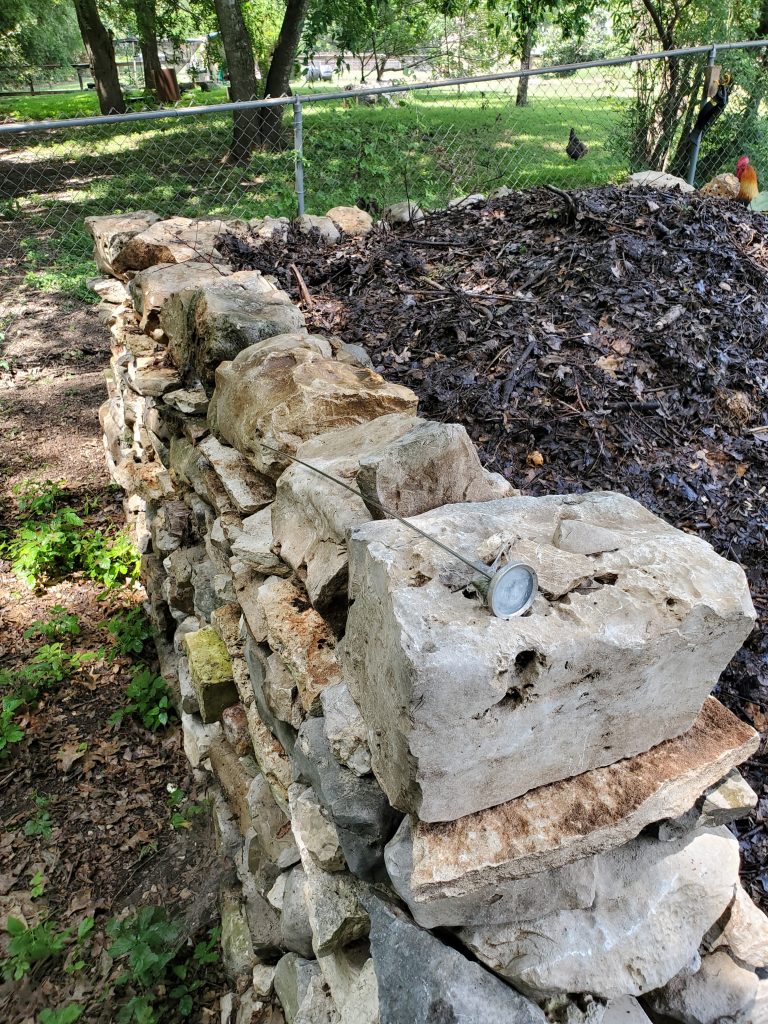
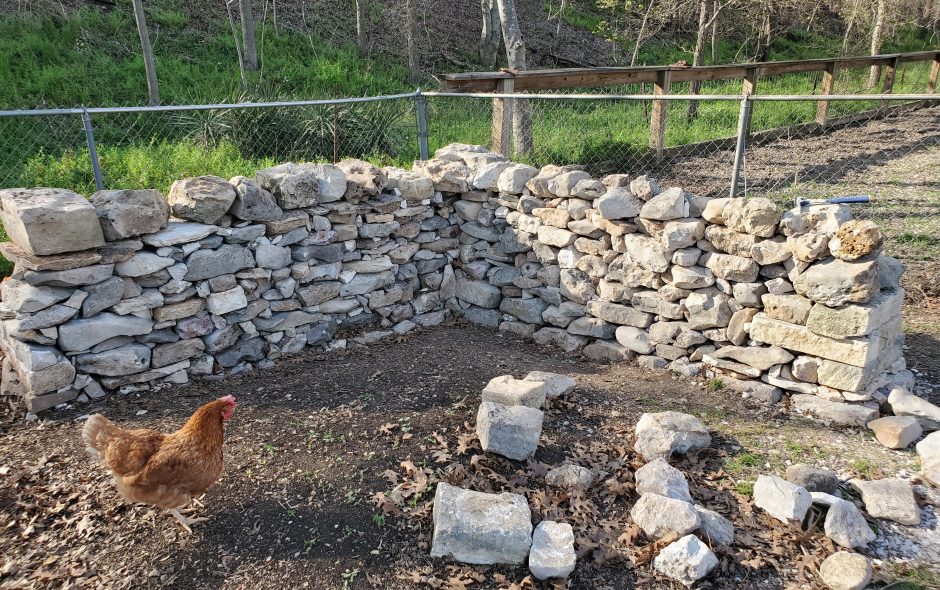
Here’s the wall. Doing it’s composting job.
I’m pretty happy with it for my first dry stone wall and I really enjoyed working on it.
I will be building another one this fall to see if I can do a better job. If I can collect enough rocks. Let me know if you have any lying around I can come and pick up.
Cheers! 🙂
That wall is seriously gorgeous! You did a fantastic job- I love love love it girlie!!!!