Dry stone walls are held together by the weight of stone, stacking technique and the skill of the builder (gravity, friction and finesse). As the wall settles slowly over time, the stones should become bound more closely and the wall becomes stronger.
A Wall in a Perfect World
Well, my first dry stone wall didn’t look anything like this illustration, so finesse was definitely not a thing for me. There are many ways to build a double skinned dry stone wall, so I’ll just try to use the technique implied by the illustration here as a guideline to learn with.
The YouTube videos I watched made it look almost easy since most didn’t demonstrate ‘how to’ handle sloping ground, wall ends, and corners. I really needed to do a lot more research.
But looking at videos and books would not have been as educational and inspiring as jumping in and just doing it myself. I’m excited to give dry stone walling another try as soon as the weather cools in the fall and I find more stones, watch more videos and read more books.
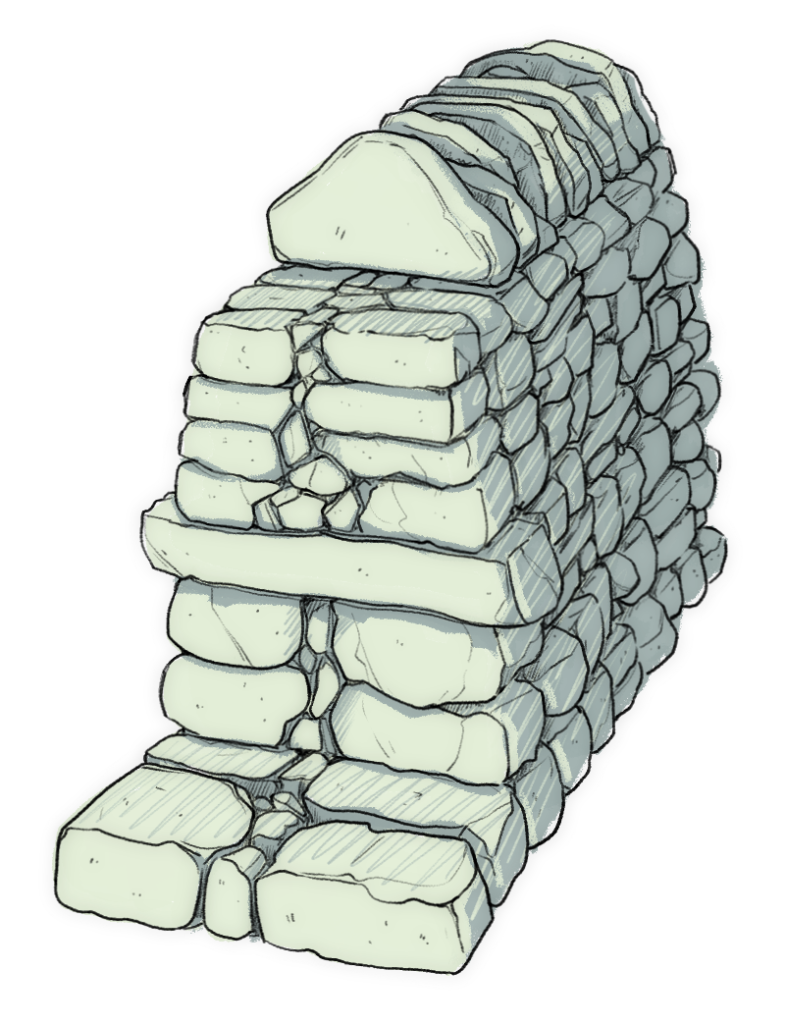
Continuing the ‘Perfect World’ scenario (ie: no sloping ground, no corners, no curves, no cheek ends, etc), here are the fundamentals that I am going to try to apply to my next dry stone wall attempt …
Use stakes and string to mark out the foundation course. The height of the string should be the height of the stones once they are placed and bedded in (hint: figure out a rough average height of the foundation stones you have so you can adjust the string height). The foundation should be a few inches wider than the base width (first course) of the wall. Prepare the footing by removing loose stones and plant material, digging out the top soil and stamping down the resulting trench. A deep trench is not necessary. (Note to self – chicken proof this step.)
Use the largest, flat heavy stones in the rock pile for the foundation. Work the stone faces in close to the string but don’t touch it or the string could bow out and mess up the straight line. Lay the foundation stones side by side so that they are touching each other with the longest sides of the stones running towards the center. The upper surfaces should be flat and level. Use smaller pinning stones underneath the foundation stones to level and stabilize them. Fill in any gaps under the foundation stones with smaller stones so there are no stress causing pressure points. When both sides of the foundation have been laid and pinned, tightly pack any internal gaps with hearting stones by manipulating the hearting until they are firmly in place.
On the first course, set up the batter boards and strings. Using the thickest stones left after completing the foundation, lay the face stones with the edges touching. Each stone should be placed such that it covers the joint between the stones below, two stones over one and one stone over two, in the manner that bricks are laid. Be sure to line up the faces of the stone with the batter string, placing each one lengthwise into the wall and pinning underneath to make sure they are stable and level on top. When both sides of the course are finished, pack the gaps in the center with hearting.
Raise the batter strings for each course. Lining up the face of the stones with the batter strings, continue to lay, pin and pack each course of stones in the same manner as the first course using slightly thinner stones as each course is built up.
Halfway up the wall, lay the course containing the through stones. They should be placed every 3 feet or so apart, covering the joints beneath and extending out slightly on each side of the wall. Pack pinning stones underneath them so they are completely stable. After the throughs are placed, fill the gaps between them with face stones and packing to complete the course. That finishes the first lift (foundation plus several courses ending with the through stone course).
The second half of the wall is called the second lift and continues with courses laid as described above (lay stones lengthwise into the wall making sure to cover joints, pin then pack the gaps in the center) and ends with a final course of cover stones topped with cope stones or coping. The copes are heavy rocks and can be shaped like rough triangles lined up vertically so the weight bears down on the wall. Or they can just be large rocks, depending on what you have available.
Batter: receding upward slope of the outer faces of a wall. Each course is a little narrower than the course below so the outer faces of the wall slope inward directing the weight of the wall inward
Batter board or A-frame: a pair of horizontal boards nailed to posts or attached to rebar at a slight angle for fastening stretched strings to mark the course levels and widths
Coping, copes or tops: heavy rocks placed on the top of a wall
Course: single layer of rocks on each side of the wall with packing in the center gaps
Face stones: the stones on the two outer sides of the wall; They should follow the line of the batter (ie: inward slope)
first lift: foundation, several courses and the course containing the through stones; bottom half of the wall
Foundation, footings or footers: the flat base the wall is built on; wide enough to spread the load of the wall
hearting, packing or middle: smaller angular stones that are packed into the internal gaps of the wall between the two sides of the wall to create an interlocking, binding network
Joint: the space between two face stones (or foundation stones)
second lift: courses, cover stones and copes above the through stone course; top half of the wall
Throughs, through stones or tie-rocks: long stones laid across the width of the wall, sticking out on either side and binding both sides of the wall together
Instead of a Perfect World it is maybe a Dream World, since this description is incredibly oversimplified and we’re talking about randomly shaped rocks here, not cut stone. But there you have it. I am going to keep these points in mind anyway on my next wall.
Retirement Zen ~ Geriatric Dry Stone Walling
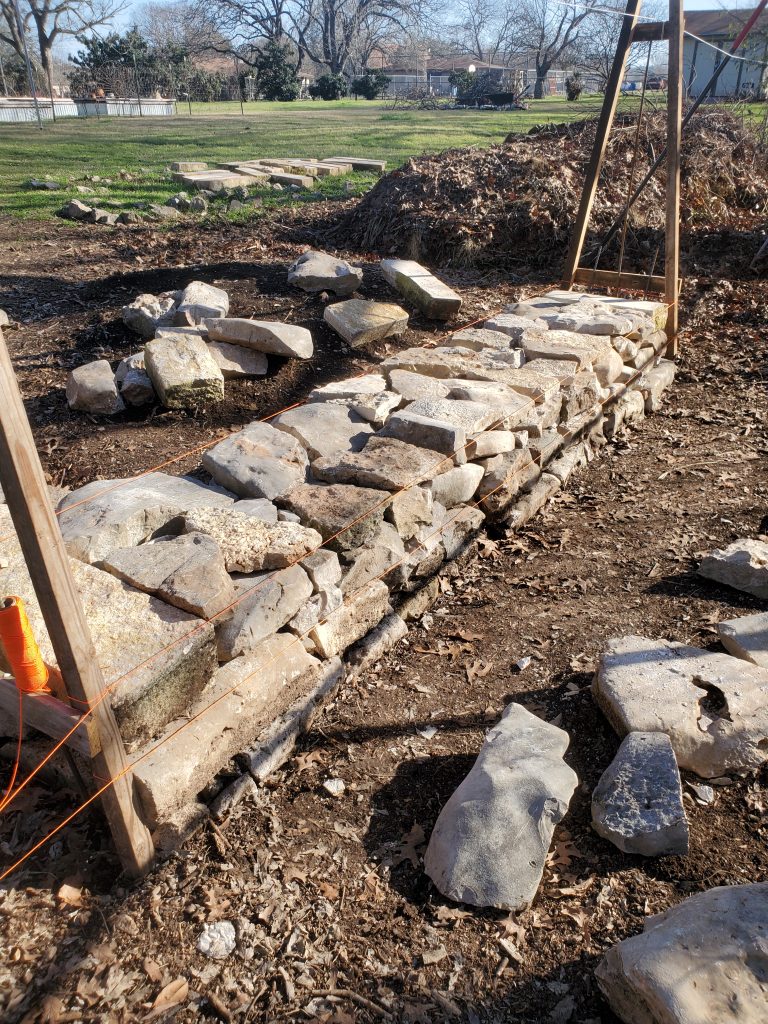
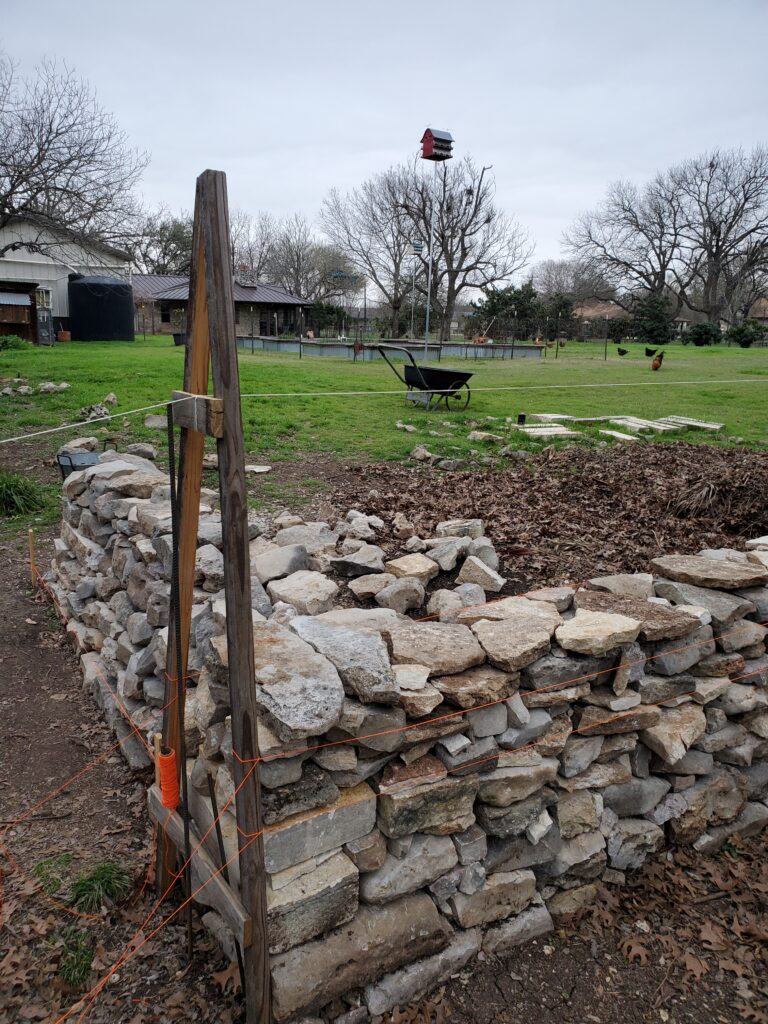
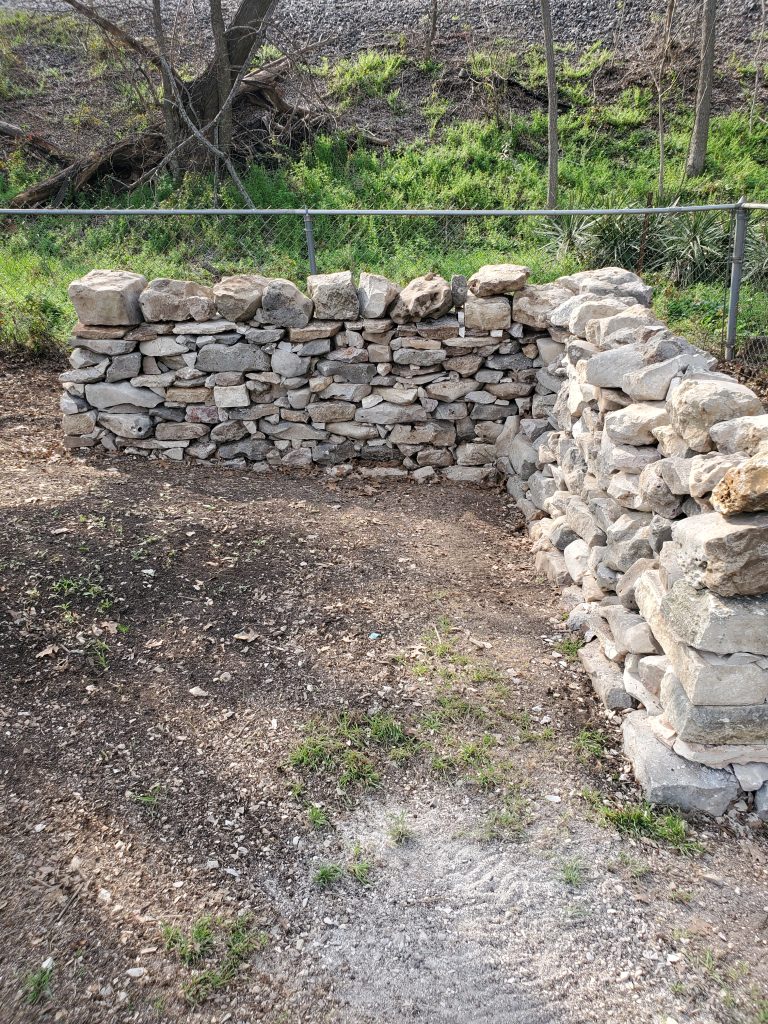
Love it! Nice rocks 🪨!!!!!!